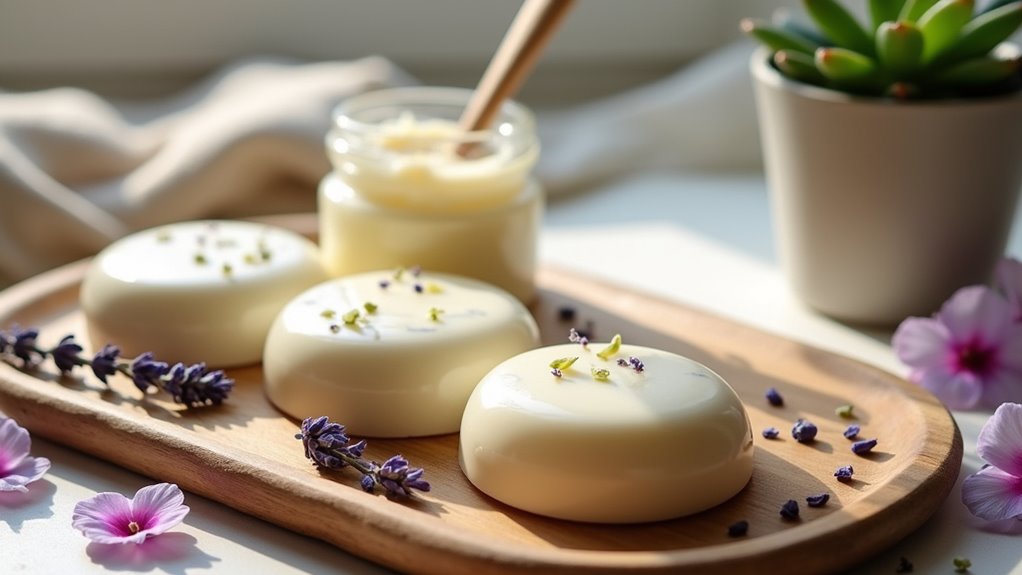
Just as I discovered lotion bars during a winter skin emergency, you might find they’re the skincare solution you never knew you needed. I’ve created hundreds of these solid moisturizers and can confirm: they’re ridiculously simple to make yet outperform store-bought options. Three ingredients, thirty minutes, zero preservatives—that’s all it takes. The satisfaction of sliding a homemade bar across rough elbows? Unmatched. But wait until you learn my secret essential oil combinations.
Some of the links in this article may be affiliate links. If you make a purchase through these links, we may earn a small commission at no extra cost to you. Thank you.
Essential Ingredients for Perfect Lotion Bars
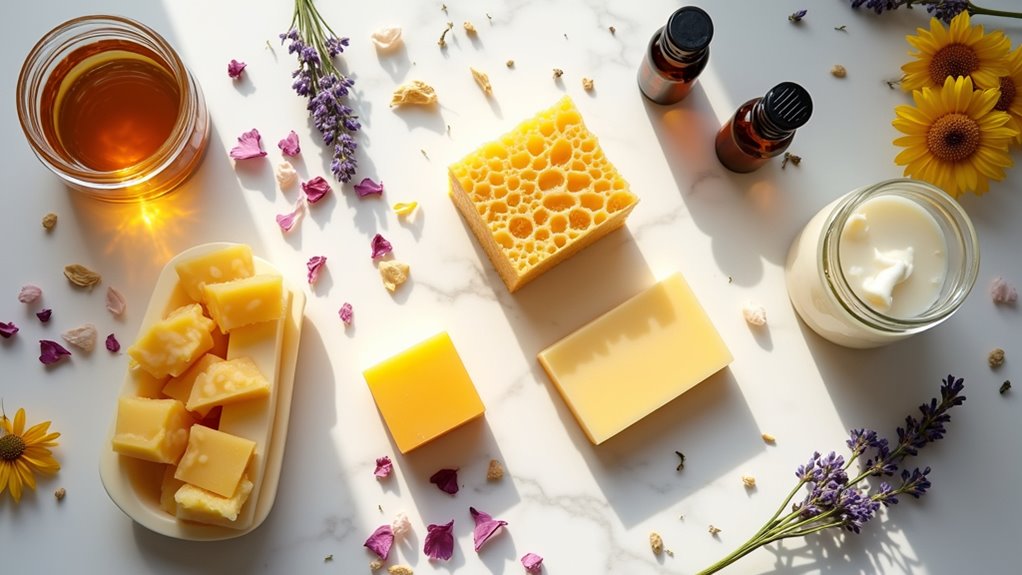
When it comes to making lotion bars at home, the right ingredients make all the difference between a greasy mess and a luxurious skin treat. My formula is dead simple: equal parts beeswax, shea butter, and carrier oil (⅓ cup each).
Beeswax benefits go beyond just hardening your bar—it creates a protective barrier that locks moisture in. Unrefined shea butter delivers deep hydration without the greasiness.
For oils, sweet apricot works wonders, though grapeseed makes a solid alternative. Want healing properties? Add frankincense. Need relaxation? Toss in lavender.
Gathering Your Tools and Equipment
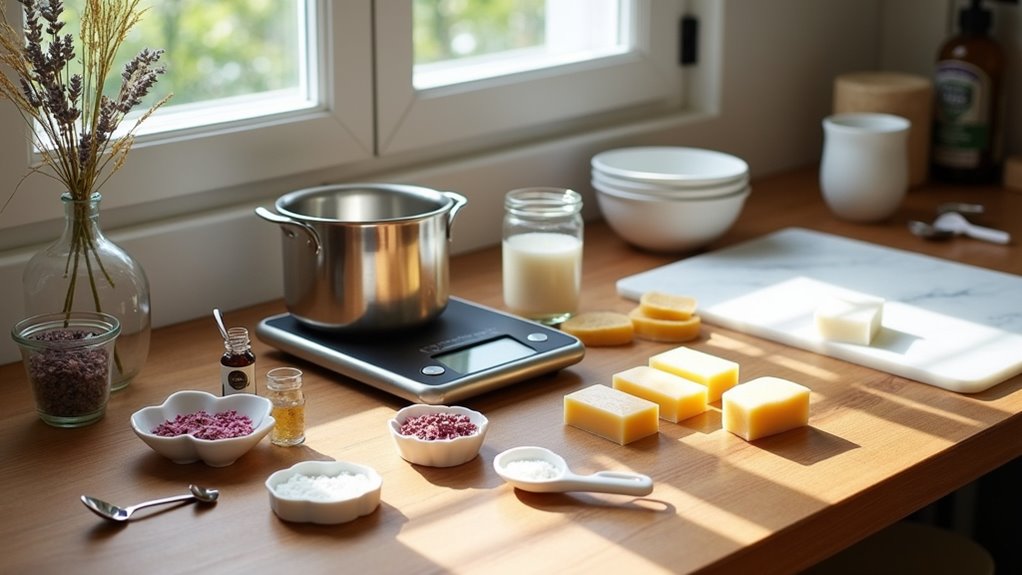
You’ll need the right tools before diving into lotion bar creation—skip this prep, and you’re setting yourself up for a messy failure. I’ve learned this the hard way.
For proper tool organization, grab a glass measuring cup (Pyrex works best), a sturdy mixing spoon, and a pot for your makeshift double boiler. Equipment selection matters—silicone molds are non-negotiable. Metal molds will stick, ruining your bars.
I swear by Freshware and Longzang silicone molds for professional results. Arrange everything before starting—you won’t have time to rummage through drawers with hot wax waiting.
Step-by-Step Melting and Molding Process
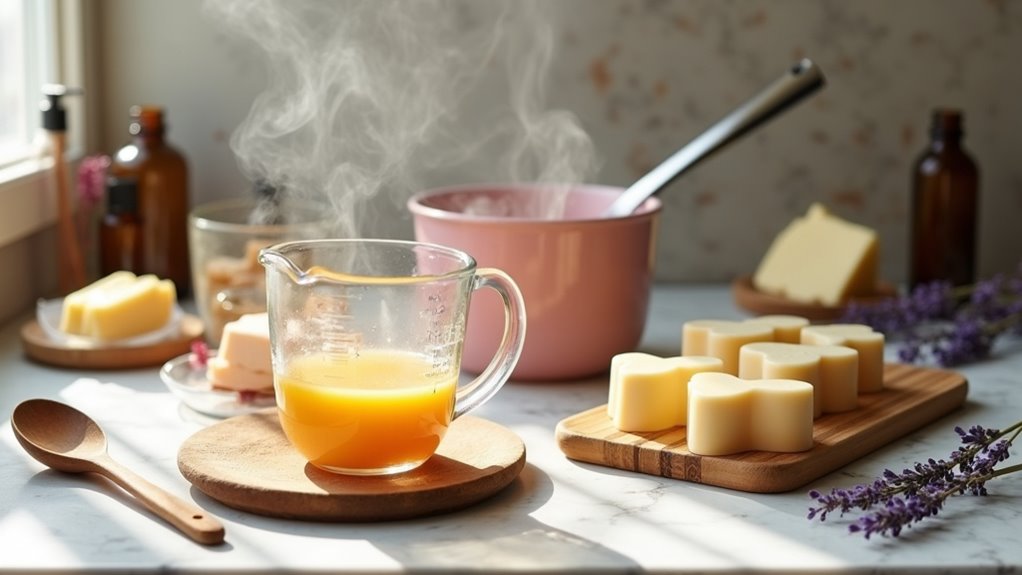
Now that your workspace is properly equipped, let’s melt some ingredients. My foolproof melting technique uses a makeshift double boiler—water simmering, not boiling. Overheating destroys healing properties. Period.
Temperature control isn’t optional—it’s essential. Simmer, don’t boil, to preserve the healing magic in your bars.
- Measure beeswax and shea butter into your glass measuring cup, place in simmering water
- Stir occasionally until completely melted (about 10 minutes)
- Add sweet almond oil, stir until fully incorporated
- Cool slightly before adding essential oils, then pour into silicone molds
Critical molding tip: silicone only. Metal molds create sticky disasters. Let bars cool completely—about an hour—before unmolding. Trust me.
Customizing Your Lotion Bars With Colors and Scents
The plain lotion bars I’ve described work perfectly, but your creative instincts deserve attention too. Get experimental with color choices—natural additions like chlorophyll (green), cocoa powder (brown), or beetroot powder (pink) transform basic bars into visual treats without chemicals.
For scent combinations, think strategically: frankincense and lavender deliver healing properties with relaxation. Want a vacation vibe? Add coconut oil. Sensitive skin? Stick with minimal, soothing scents.
Remember: essential oils go in last, after slight cooling. Start with 15-20 drops total—you can always make your next batch stronger.
Frequently Asked Questions
How Long Do Homemade Lotion Bars Typically Last Before Expiring?
I find homemade lotion bars typically last 6-12 months, depending on ingredient stability. I’ll store mine in a cool, dry place to maximize shelf life and preserve their moisturizing properties.
Can I Use These Lotion Bars on My Face?
Nearly 30% of skincare users apply body products to their face. I wouldn’t recommend these lotion bars for facial safety, as they’re too heavy for most skin types and could cause breakouts.
What’s the Best Way to Store Lotion Bars?
I store my homemade lotion bars in an airtight container away from heat. Tin canisters or glass jars work perfectly as ideal container options, preventing melting and preserving freshness between uses.
Do Lotion Bars Melt in Hot Weather?
Yes, my lotion bars will melt in hot temperatures due to their heat sensitivity. I recommend summer storage in a cool spot or refrigerator to maintain their solid form.
Can I Use Lotion Bars on Children or Sensitive Skin?
As gentle as a summer breeze, lotion bars are safe for children’s skin when made with simple ingredients. I’d recommend avoiding essential oils for sensitive skin and sticking with basic moisturizing components.
Conclusion
While commercial lotions bombard you with chemicals, I’ve shown you how to craft pure, nourishing alternatives with just three ingredients. I’m constantly amazed how these simple bars outperform $30 department store products. Make them your way—colorful or fragrant, plain or fancy. Your skin deserves this small act of self-care. Trust me, once you’ve experienced these handcrafted bars, you’ll never return to store-bought options again.
About The Author